
이번에는 roslibjs 모듈을 통해 웹에서 구독자(subcriber)와 발행자(publisher)를 만들어보겠습니다.
우선 서버로 사용할 폴더를 생성하세요.
$ mkdir ~/node-server && cd ~/node-server && mkdir html |
npm을 통해 express 모듈을 설치합니다.
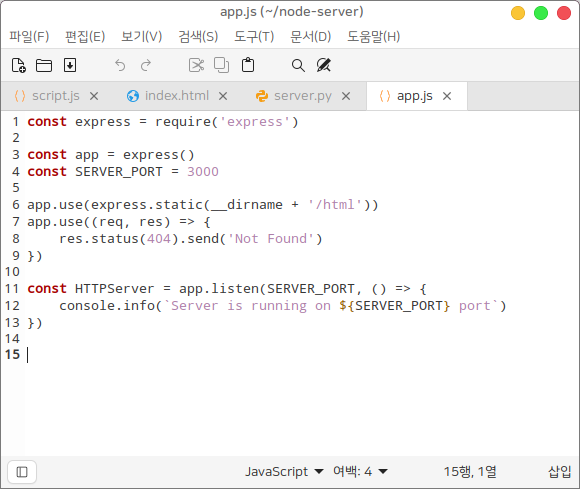
웹서버 모듈을 다음과 같이 작성하세요. 3000번 포트를 웹서버로 사용하겠습니다.
$ touch app.js && xed app.js |
const express = require('express')
const app = express() const SERVER_PORT = 3000
app.use(express.static(__dirname + '/html')) app.use((req, res) => { res.status(404).send('Not Found') })
const HTTPServer = app.listen(SERVER_PORT, () => { console.info(`Server is running on ${SERVER_PORT} port`) })
|
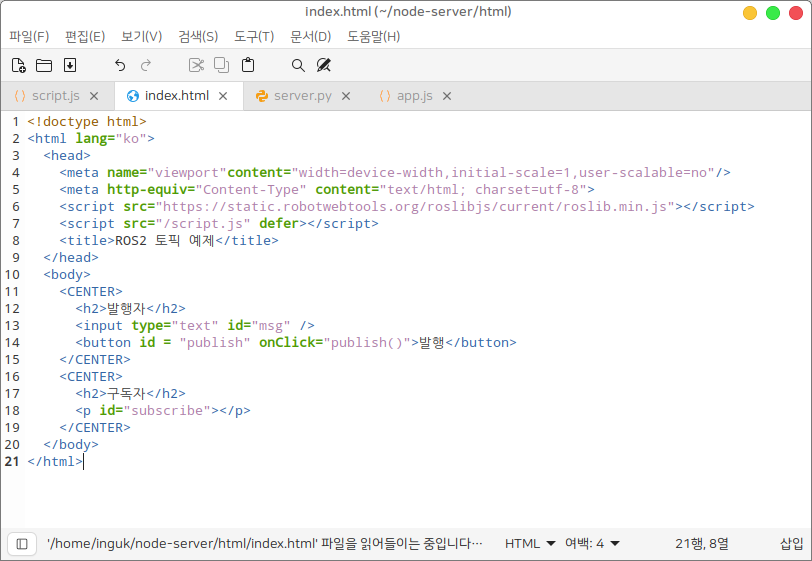
html 파일을 작성하세요.
$ touch html/index.html && xed html/index.html |
<!doctype html> <html lang="ko"> <head> <meta name="viewport"content="width=device-width,initial-scale=1,user-scalable=no"/> <meta http-equiv="Content-Type" content="text/html; charset=utf-8"> <script src="https://static.robotwebtools.org/roslibjs/current/roslib.min.js"></script> <script src="/script.js" defer></script> <title>ROS2 토픽 예제</title> </head> <body> <CENTER> <h2>발행자</h2> <input type="text" id="msg" /> <button id = "publish" onClick="publish()">발행</button> </CENTER> <CENTER> <h2>구독자</h2> <p id="subscribe"></p> </CENTER> </body> </html> |
script.js 파일을 작성하세요.
$ touch html/script.js && xed html/script.js |
const ros = new ROSLIB.Ros();
ros.connect('ws://localhost:9090');
ros.on('error', (error) => { console.log(error); });
ros.on('connection', (error) => { console.log('Connection: ok!'); });
ros.on('close', (error) => { console.log('Connection closed.'); });
const topic = new ROSLIB.Topic({ ros: ros, name: '/topic', messageType: 'std_msgs/String' });
let msg = new ROSLIB.Message({ data: '' });
function publish() { msg.data = document.getElementById('msg').value document.getElementById('msg').value = '' topic.publish(msg) }
window.onload = () => { topic.subscribe((res) => { document.getElementById('subscribe').innerHTML = res.data }) } |
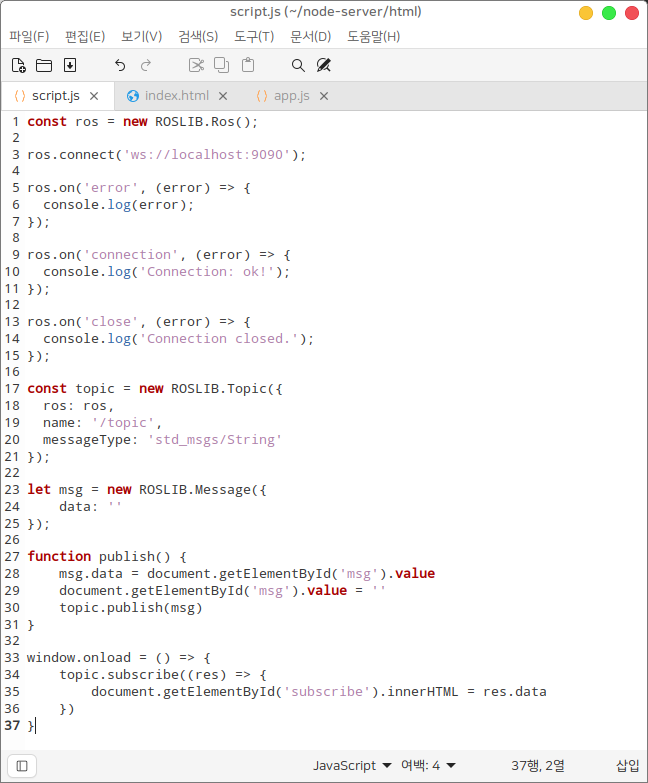
ros 객체를 생성하고 connect 메소드로 브릿지에 연결합니다. 그리고 on 메소드를 통해 각각의 이벤트에 대한 콜백함수를 작성하세요.
const ros = new ROSLIB.Ros();
ros.connect('ws://localhost:9090');
ros.on('error', (error) => { console.log(error); });
ros.on('connection', (error) => { console.log('Connection: ok!'); });
ros.on('close', (error) => { console.log('Connection closed.'); }); |
토픽 객체와 메시지 객체를 생성합니다.
const topic = new ROSLIB.Topic({ ros: ros, name: '/topic', messageType: 'std_msgs/String' });
let msg = new ROSLIB.Message({ data: '' }); |
"발행" 버튼을 누르면 publish 함수가 실행됩니다. 이때 토픽 객체의 publish 메소드를 통해 메시지가 발행되도록 작성합니다.
function publish() { msg.data = document.getElementById('msg').value document.getElementById('msg').value = '' topic.publish(msg) } |
페이지가 로딩되면 토픽객체의 subscribe 메소드를 통해 해당 토픽을 구독하도록 작성합니다. 해당 메소드는 콜백함수를 인수로 가집니다. 콜백함수는 매개변수로 발행된 토픽 메시지 객체를 받습니다.
window.onload = () => { topic.subscribe((res) => { document.getElementById('subscribe').innerHTML = res.data }) } |
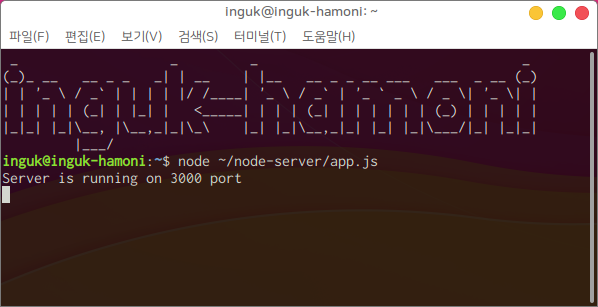
저장하고 터미널에 다음 명령어를 통해 웹서버를 실행합니다.
$ node ~/node-server/app.js |
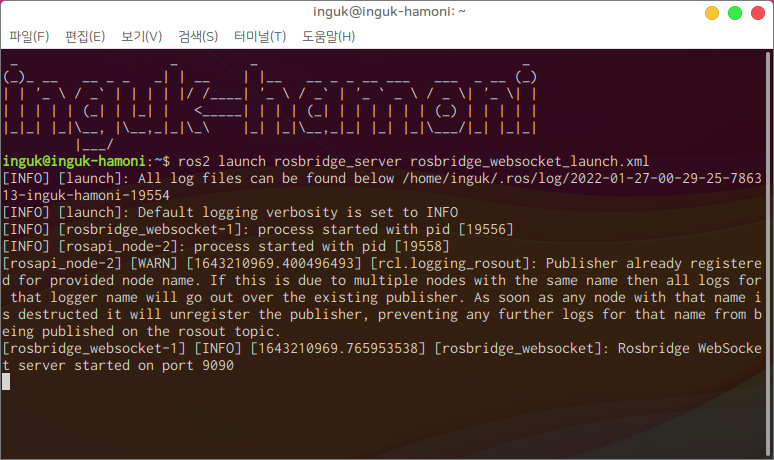
ROS에서 rosbridge_server 패키지의 rosbridge_websocket_launch.xml 파일을 launch 명령어를 통해 실행합니다.
$ ros2 launch rosbridge_server rosbridge_websocket_launch.xml |
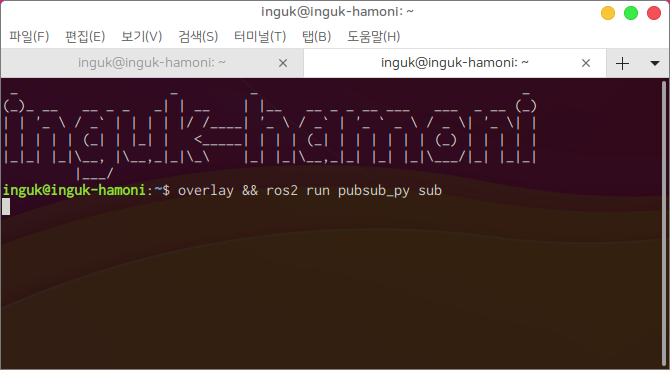
예전에 만든 pubsub_py 패키지의 sub 노드를 실행합니다. 해당노드는 "topic" 토픽을 구독하는 노드입니다.
https://www.robotstory.co.kr/king/?vid=885 를 참고하세요.
$ overlay && ros2 run pubsub_py sub |
웹브라우저(크롬)에서 http://localhost:3000 으로 이동하세요. 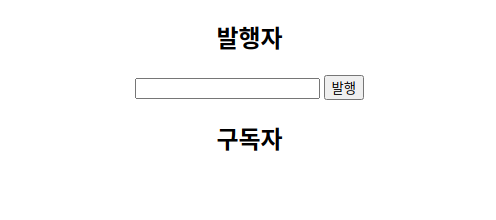
input 입력창에 아무 문자열이나 입력 후 발행을 눌러보세요. 
새로운 터미널을 열고 pubsub_py 패키지의 pub 노드를 실행합니다. 해당 노드는 "topic" 토픽으로 메시지를 발행하는 노드입니다.
$ overlay && ros2 run pubsub_py pub |
|  스팟
스팟